
SUPPLIES:
- Custom card stock. For more information on my paper order, click here.

- Paper cutter with scoring blade (Fiskars bought at Michaels)
- Scissors (sharp and decent ones)
- Bone Folder (also known as boning/transfer tool)
- Double sided permanent tape (Terrifically Tacky Tape 1/8" bought online from JoAnn's)
- Pencil
 |
| (forgot to include the green bone folder) |

INSTRUCTIONS:
1.) First, trace the flap templates on each side. Here I am tracing the template for the flap.

2.) And then, here I am tracing the template for the pocket.

3.) Cut carefully along your pencil lines.

4.) Score 3" from the pointed flap.

5.) Score again from the outside fold. (This section is were the invitation will be placed) Measurement for this is 5".

6.) Make the final score 3" from the end of the card stock.

7.) Use the bone folder to fold along your scored line to make the pocket.

8.) Once you have folded the pocket and made a good crease, unfold it again. Add the adhesive tape on both sides. (see the red adhesive)

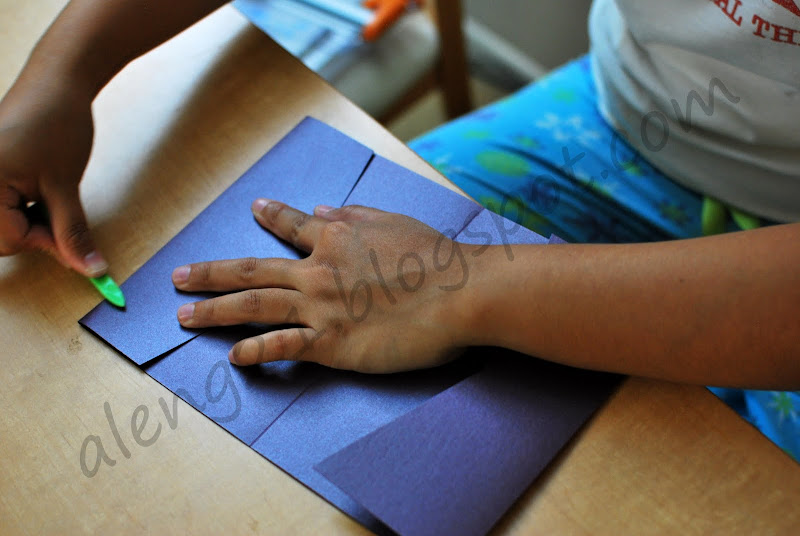
9.) Fold over the pocket flap to make the pocket. Make the middle fold next.

10.) Make the top fold for the pointed flap. Make use of the bone folder to make clean, neat folds.
11.) Fold the whole thing over and then tada! It's done! :)

It's actually pretty easy to make the pocket folds, but it can be very tedious and time consuming. I dedicated a few days concentrated on just making the pocket folds. I do them by batch, so that I won't get bored. I actually followed the instruction from Heather Drive's blog She started with scoring the card stock first while I did the tracing first. It would depend on what you're comfortable doing that get's you done fastest.

1 comment:
hi ms aleng!
please help naman. I am a DIY bride to be as well and i wanted our invites etc to be personalized. anyways, will it be possible to ask for the template of your wedding invitation and the 3-fold envelop?i really like what you did. I went last week to quiapo, divi and recto for teh things i needed for my DIYs and asked around for quotes at recto and was told na malaki daw yung invite ko. so, i think, mas okay yung gawa mo.;)
also, may i know kung anong paper ang ginamit mo for the invite and envelop?
please send it to me naman to my email jennifermaranan_rn99@yahoo.com
thanks so much sis and hope to hear from you soon:)
Post a Comment